
Embroidery is an easy way to give your personality to everyday clothing. From drawing on a plain T-shirt to decorating a denim jacket with flowers, the hand-made technique helps you make your own unique and creative items. But how to start? What tools and materials do you need to embroider clothes at home?
The good news is that nobody needs to be an expert to embroider clothes. A little practice, the right set of tools and the knowledge of the materials’ features will help you master the craft. And the best part is that you can start today! Below you will find all the necessary information about the embroidery basics, including the essential supplies, materials, designs, patterns, stitches, and how to care for embroidered clothing. All these details will help you achieve the perfect embroidery every time.
What Is Embroidery on Clothes?
Embroidery on clothes refers to the decorative art of decorating textiles with needles and threads. This craft has been around for centuries and remains as popular as ever, thanks to the introduction of embroidery machines.
However, hand-made embroidery is the preferred option for personalizing ordinary clothes. With hand-made embroidery, one can add personal style to their favorite t-shirt, denim jacket, skirt, or any other garment of their choice. The customization process is quite simple; one can decide on the design, color, and placement of the embroidery. For instance, a person can embroider a small near a pocket, monogram initials on a sleeve, or a daisy pattern on a denim jacket, among others. What is more, the image can either be subtle or elaborate depending on one’s preference and design preference. Embroidery provides a wonderful dimension to fabric as compared to printed graphics.
Like with any other craft, successful embroidery requires understanding the basic techniques and processes. A good understanding of such nuances as the fabric to be used, the placement, and the frequency of washing also plays a significant role in determining the final outcome of the project.
What Do You Need to Embroider on Clothes?
Gathering the right supplies before you begin makes the process easier and helps you avoid common problems.
1. Embroidery Needle
It should be sharp enough to avoid stabbing the fabric but not tear it. A sharper one is suitable for fine cotton shirts while a thicker denim needs a thicker needle.
The tip of the needle should be sharp enough to pierce through the fabric.
Its eye should be large enough to avoid damaging the embroidery thread.
2. Embroidery Thread
It should be smooth to avoid fraying at the edges. Cotton thread is recommended for a beginner due to its accessibility. They are available in different shades and can be split into strands to control the thickness of your embroidery.
Always get a thread that is safe for the garment you wish to embroider. It should be able to withstand the usual washing conditions of the clothing. A good embroidery thread will always have colorfastness.
3. Embroidery Hoop
This tool holds the fabric steady while you stitch. It is crucial to have a hoop that can hold different sizes of fabric. You can use a smaller hoop when working on designs along the sleeve, shirts, or front pockets.
Avoiding stretching the knitted or stretchy fabric as it can easily damage it.
4. Fabric Stabilizer
It is a special type of fabric that comes in different variants. The stabilizer’s main purpose is to hold the garment steady and prevent it from stretching or bunching during the embroidery process.
One of the most common stabilizers is the wash-away one. It is recommended for T-shirts and other stretchy clothing. You can also mark the design on the stabilizer and attach it to the garment. Some come in a sticker form while others come in sheets and are attached to the wrong side of the fabric.
You must buy a stabilizer that is appropriate for the fabric type you want to embroider. You should also follow the manufacturer’s instruction on how to remove them after the embroidery process.
5. Other Useful Tools
You may also need:
– Small, sharp scissors for trimming thread.
– A water-soluble fabric marking pen or suitable transfer pencil.
– A simple embroidery pattern.
– A thimble for pushing a needle through thick fabric.
– A clean scrap of fabric for practising stitches.
You do not need to purchase everything at once. A needle, suitable thread, scissors, and a simple design are enough to begin practising.
Which Fabrics Are Best for Embroidery?
The fabric you choose affects how easily you can stitch and how well the finished design looks.
Cotton
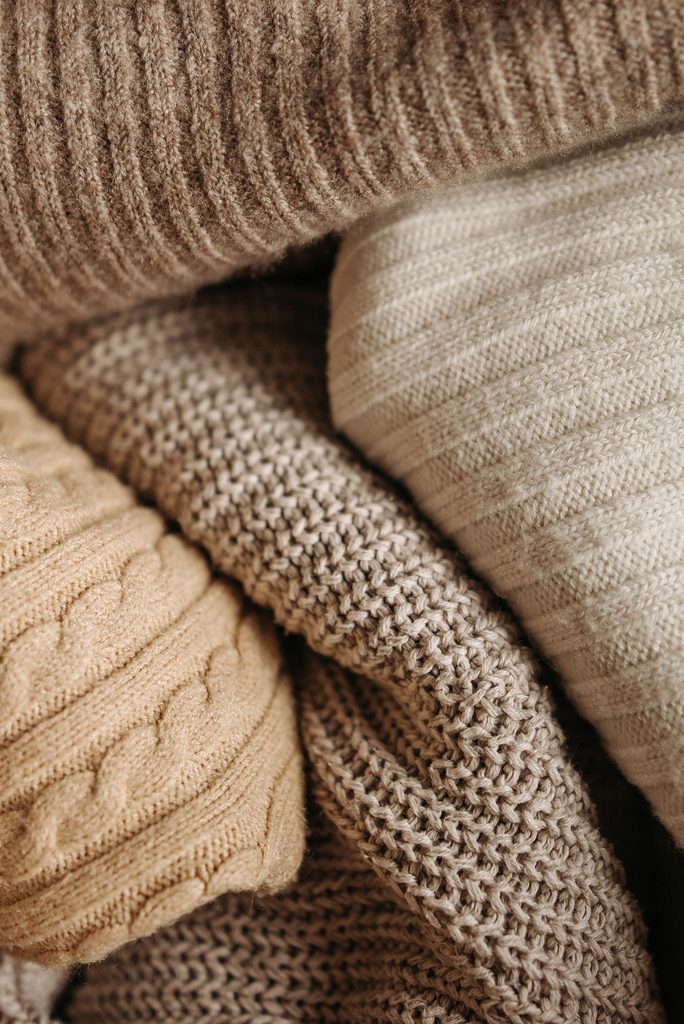
Cotton is a great option for beginners since it is usually quite easy to work with. Woven cotton shirts and light cotton tops are ideal for making simple flowers, lettering, and small patterns.
Linen
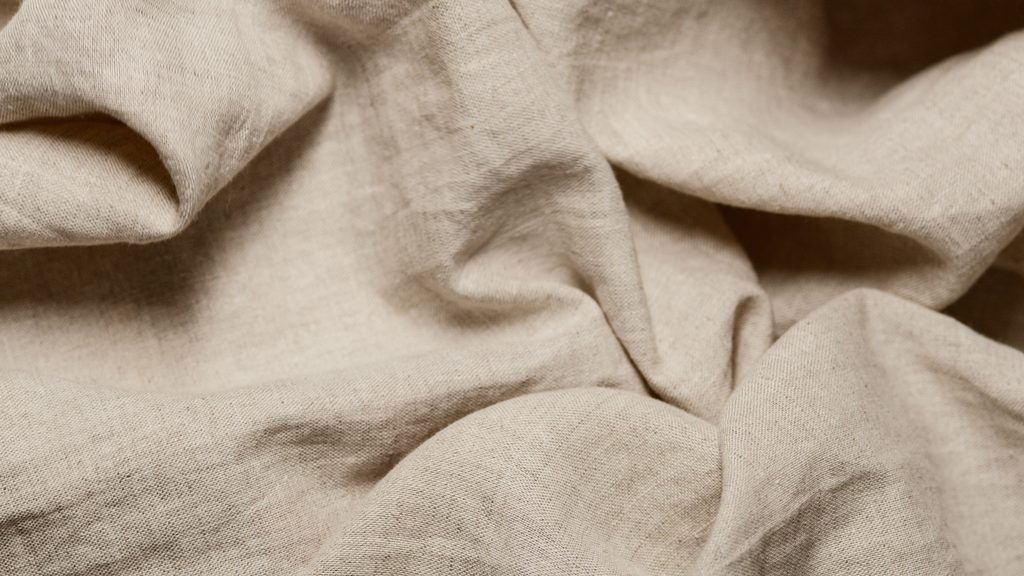
Linen is a great option for beginner-friendly embroidery. It features a nice woven texture, which looks especially nice when paired with simple designs and lettering. Keep in mind that linen is often quite rough on the touch and may require some practise to achieve a fine stitch.
Denim
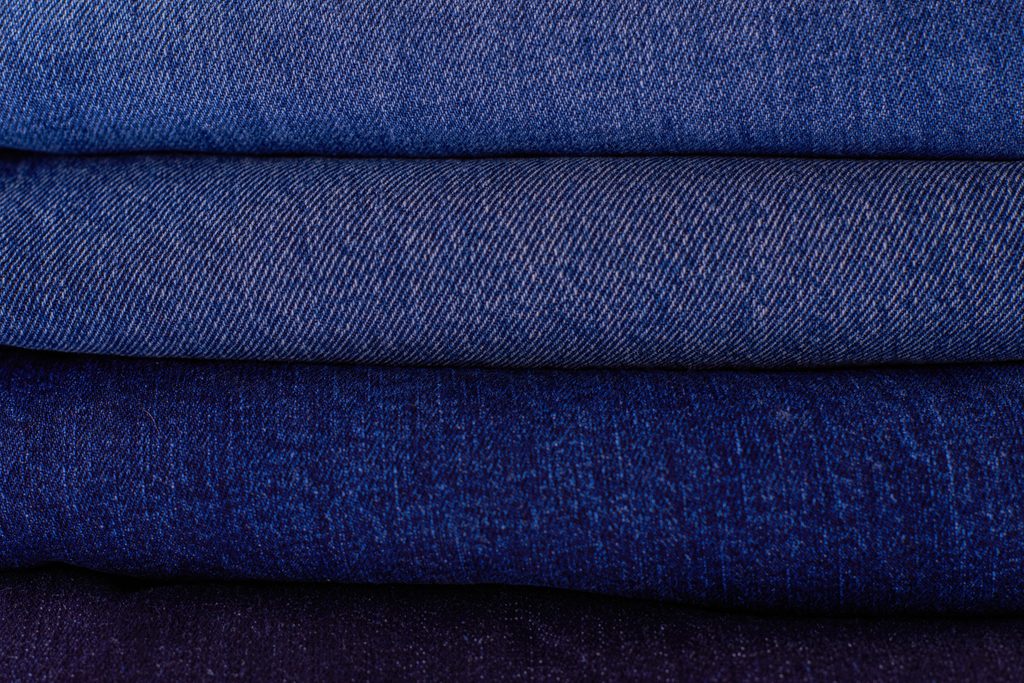
Denim jackets or jeans are a popular choice for embroidery, though, they are not always the easiest option to work with. Most denim garments are made out of a mix of cotton and linen, but they still require some extra care. Since denim is quite durable, a beginner should avoid working near pockets and problem spots and use a suitable needle for the thicker threads.
T-Shirts and stretchy fabrics
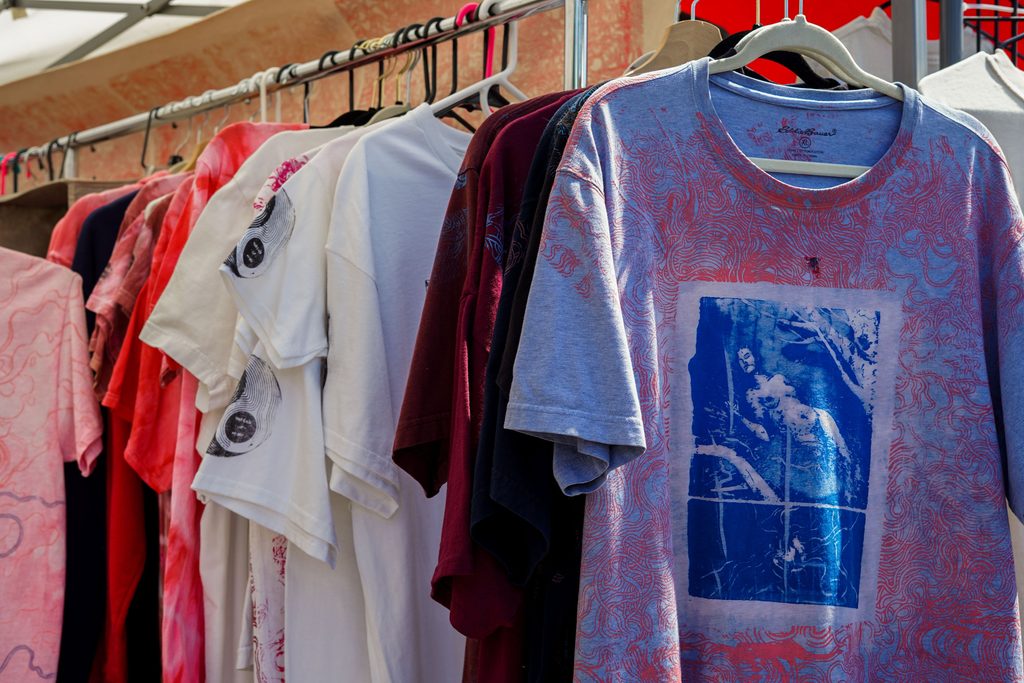
T-shirts and other clothing items made out of stretchy fabrics present a significant challenge to embroidery beginners. They are usually made out of knitted cotton, which is much more durable and elastic than woven cotton. A beginner should use a stabilizer when working on knitted t-shirts and use a fine needle to avoid damaging the fabric.
Quick Fabric Comparison
Fabric | Difficulty | Useful tip
Woven cotton | Easy | Start with small designs
Linen | Easy to moderate | Choose simple patterns
Denim | Moderate | Use a suitable needle
Stretchy jersey | Moderate | Add suitable stabilizer
Velvet or delicate fabrics | More challenging | Test a suitable method first
For your first project, a woven cotton shirt or a piece of cotton fabric is a sensible starting point.
How to Embroider on Clothes Step by Step
Once you have your supplies, follow these steps to create your first embroidered design.
Step 1: Washing and Preparing the Garment
If washing the garment is an option, according to the care instructions, make sure to do it before embroidering to prevent shrinkage. Let it dry, and iron it if needed.
If the garment is valuable, make sure to practice on a similar piece of fabric first, to see how the needle reacts to the material, what thread color looks good on it, and to perfect the stitch.
Step 2: Thinking About the Design
As a beginner, try to embroider something simple, using several stitches and a few basic shapes.
Some ideas for an embroidery project for a beginner:
A small floral pattern or a simple leaf design.
A simple heart-shaped design.
Your initials or those of someone special to you.
A short word or a phrase;
A small star or a geometrical shape.
Moreover, pay attention to the placement. Pick a spot where the design will look nice. Usually, smaller patterns look good on a chest above the hips/below the bust, on the pocket, or on the sleeve. If the garment has areas that are often rubbed against something, the embroidery will wear out faster there.
Step 3: Transferring the Design
The embroidery design has to be transferred to the garment somehow, depending on what tools you have at hand. If you have a light-colored fabric, it is usually possible to use tracing paper and a permanent marker. On dark garments, some kind of a washable stabilizer is a good option. Remember these things:
Always test your marking tools on a spare piece of fabric before using them on your main fabric.
Ensure that you can completely wash away all the marks after finishing the embroidery.
Do not use regular permanent markers on the garment itself;
Always double-check the transferred design before you start embroidering.
If you decide to use a washable stabilizer, draw or print the design on it, following the manufacturer’s instructions.
Step 4: Using a Stabilizer
Depending on the type of your stabilizer and the way you transferred the design, attach it to the right side of the fabric. A stabilizer is used so that the embroidery does not look saggy or wrinkled. It usually comes down to the fabric type. A stretchy T-shirt will need a stabilizer to keep it from stretching, while a woven cotton shirt will need one only if the design is dense or the shirt is thin.
Do not forget about the garment’s features – some pieces have pockets or other parts that should not be messed with. If you are using a wash-away stabilizer, make sure that your garment and thread are compatible with the chosen stabilizer, and will not be damaged when it is removed.
Step 5: Attaching the Hoop
If you are using a hoop, attach the fabric to it, making sure that it is centered and the fabric is not stretched too tight. You will have to adjust the tension so that it is not too loose or too tight, depending on the fabric. It is especially important for knitted and stretchy fabrics, such as T-shirts. Make sure that you did not put the wrong side of the fabric in the hoop. When you are embroidering the front of the T-shirt, make sure that the back is not inside the hoop.
A hoop is not obligatory in all cases, if the fabric is stretchy enough, you can try to embroider without one, but it will be more challenging. Denim is a good example of a firm fabric that can be embroidered without a hoop.
Step 6: Embroidering Your Design
Once the fabric is properly prepared, start embroidering your design! Pick a couple of simple stitches, such as a back stitch for outlining and lettering, and a stem stitch for drawing lines and curves. You can also use small satin stitches for filling small areas. When you do these stitches, make sure that your stitches are not too long, so they do not look saggy on the right side of the fabric. Always keep in mind these common mistakes:
Avoid making long stitches that show on both sides of the fabric.
Avoid stretching the fabric too much while sewing, as this can cause the embroidery to wrinkle.
Trim excess thread from the back of the fabric and secure each stitch properly to keep your embroidery neat and tidy.
Making loops or knots on the back side of the fabric.
You can also use different colored threads to highlight certain parts of your design. However, it is better to follow one color while working on separate details and change them as you go. Always keep your stitches close to each other so that the whole embroidery looks even. If you see that the fabric starts to pucker, stop and check the tension.
Step 7: Finishing the Stitches
Once you have finished a detail, make sure to secure the thread on the back side with a small stitch so that small loops are not left on the front side. Take the hoop away and let the fabric relax. If you used a wash-away stabilizer, remove it as instructed by the manufacturer.
After the embroidery is completely dry, make sure to inspect the design, looking for any marks, misplaced stitches, or loose threads. Trim the threads that stick out on the back side of the fabric, but avoid cutting the garment or the embroidery itself.
If the back side of the embroidery feels too rough, you can use a piece of embroidery stabilizer on the back side of the embroidery, if the fabric allows it.
Which Embroidery Stitches Work Best on Clothes?
Not every embroidery stitch is equally practical for clothing. Designs on garments need to tolerate movement, friction, and regular care.
Back Stitch
Back stitch allows you to make a simple line and is great for lettering, outlines, and small drawings. It is also a good stitch to start with since it is easy to learn and does not leave gaps.
Stem Stitch
Stem stitch is a little more complex and makes a slightly uneven line. It is good for stems of flowers, outlines, and some decorative stitches.
It is handy if you want a nicer effect than an ordinary outline.
Chain Stitch
The chain stitch makes a nice pattern of linked stitches with a fluffy texture. It is perfect for outlines of flowers, decorative edges, and lettering.
I think that on clothing the chain stitch should always be done in short loops that are tight together. The loops should not be too long or floppy.
Satin Stitch
With the satin stitch you can fill in small spaces by making closely spaced stitches. It works well on petals, leaves, and small letters.
On clothes, satin stitches should be short, too. I think it is best to do shorter stitches so they do not snag as easily on other objects. Big areas of satin stitch should be broken up into smaller clusters.
French Knots
French knots are used to make little bumps or knots that can look like the centres of flowers. They can add some nice detail to a design, but should not be used where bumps or knots would get caught on something.
I think that for a first project on clothing it would be best to try the back stitch and the stem stitch since they allow you to make lots of simple designs without having to learn many different stitches.
How to Embroider Different Types of Clothing
The basic process remains similar, but each garment type presents different challenges.
How to Embroider a T-Shirt
T-shirts are stretchy, which is why it is essential to support the fabric.
Choose a simple design and use a sharp needle with embroidery thread, and use a stabilizer suitable for knitted fabric. Avoid stretching t-shirts when inserting them into the hoop.
A little flower, minimalist lettering, or a simple line drawing will be perfect for a beginner. When you finish embroidery, make sure that the fabric does not curve when the shirt is taken out of the hoop.
How to Embroider Jeans and Denim Jackets
The fabric of denim jackets or jeans is quite dense, especially near the seams.
Therefore, it is necessary to choose simpler patterns and leave enough space between elements. A special tool for embroidering jeans or a thimble will help push the needle through dense fabric.
Moreover, short stitches are essential, since clothes are subject to regular wear and tear. In case of working with a pocket, it is critical to regularly check the opposite side of the fabric to ensure that the stitches do not cross the reinforcement.
How to Embroider Shirts
Shirts made of woven cotton are an ideal beginner product.
In this type of shirts, the most common place for embroidery can be the reinforcement of a pocket, near the collar, cuffs, or directly on the chest. It is important to consider the nuances of the weave of the shirt fabric and not overload the design with elements that may interfere with the functioning of a fastener or a seam.
How to Embroider Sweatshirts
Sweatshirts are usually made of a dense fabric and have a brushed surface on the inside, which can fray during embroidery.
Such a product will need a special needle that will not damage the fibers of the fabric and will allow the stitches to remain almost invisible. It is vital not to strain the embroidery threads when creating a design so that the sweatshirt does not bulge at the embroidered site. In addition, a stabilizer may be needed to hold the design in place depending on the type of fabric.
Common Embroidery Mistakes and How to Avoid Them
Even simple designs can become untidy if the fabric, thread, or tension is not handled correctly.
Pulling the Thread Too Tightly
Too tight of a pulling can lead to undesirable puckering, especially on stretchy material.
How to avoid it: Avoid pulling the thread to make your stitches as tight as possible. The thread should only be pulled enough to secure each stitch, and make sure to check the fabric as you go to make sure it is not bunched up or stretched in unnatural ways.
Using the Wrong Needle
Needles that are too thick can leave unsightly holes in delicate material. Needles that are too thin can prove to be very hard to push through denim.
How to avoid it: Make sure to use the right size needle for the material and thread you are working with, and test it out on a spare piece of the material you are working with.
Choosing a Complicated Pattern
Complicated patterns can be harder to achieve and may take more time, thread, and careful placement of stitches to complete.
How to avoid it: Stick to practice patterns that have simple outlines and shapes to build your experience before moving on to larger projects or more intricate patterns.
Skipping Fabric Stabilization
Stretchy and delicate fabric can lead to stitching that stretches and puckers in unwanted ways.
How to avoid it: Evaluate the type of fabric you are working with and make sure that you are using the right stabilizing tools for it, if any at all.
Leaving Long or Loose Stitches
Loose stitches can lead to bagginess in finished projects. Stitches that are too long have a tendency to snag on things like bags, jackets, and other clothing, and can prove to be exceptionally weak places that break and unravel with repeated use.
How to avoid it: Make sure you are using the right length stitches for the project and that they are properly secured. Always check what the reverse side of a completed project looks like once you have finished working on it.
How to Wash and Care for Embroidered Clothes
Proper care of the garment ensures the garment and the embroidery are properly maintained.
Firstly, it is necessary to check the care symbols of the garment and take into account the embroidery thread, stabilizer, and other materials.
In addition, specific measures should also be taken into account:
turning the garment inside out,
washing with reduced water and reduced temperature (depending on the fabric of the product and embroidery thread),
avoiding high temperatures,
drying in accordance with washing instructions (not too hot),
ironing turns out to be necessary (it should be ironed on the wrong side at the temperature indicated on the care symbol; to protect the embroidery from heat, you can use a Teflon sheet),
checking the embroidery for defects;
Loose threads should be removed regularly to avoid further damage. To check whether the thread is colorfast, test it on a piece of paper, and to check how the stabilizer will hold up during washing, test it on a sample.
It is important to note that not all threads and stabilizers are suitable for all garments, so it is best to test them on a sample before using them on the garment.